Mobility - Assistive devices: Nursing skills
Notes
| MOBILITY - ASSISTIVE DEVICES | ||
| KEY POINTS | NOTES | |
| DEFINITION |
| |
| WALKER |
| |
| CANES |
| |
| CRUTCHES |
| |
| MECHANICAL LIFTS |
| |
| NURSING IMPLICATIONS |
| |
Transcript
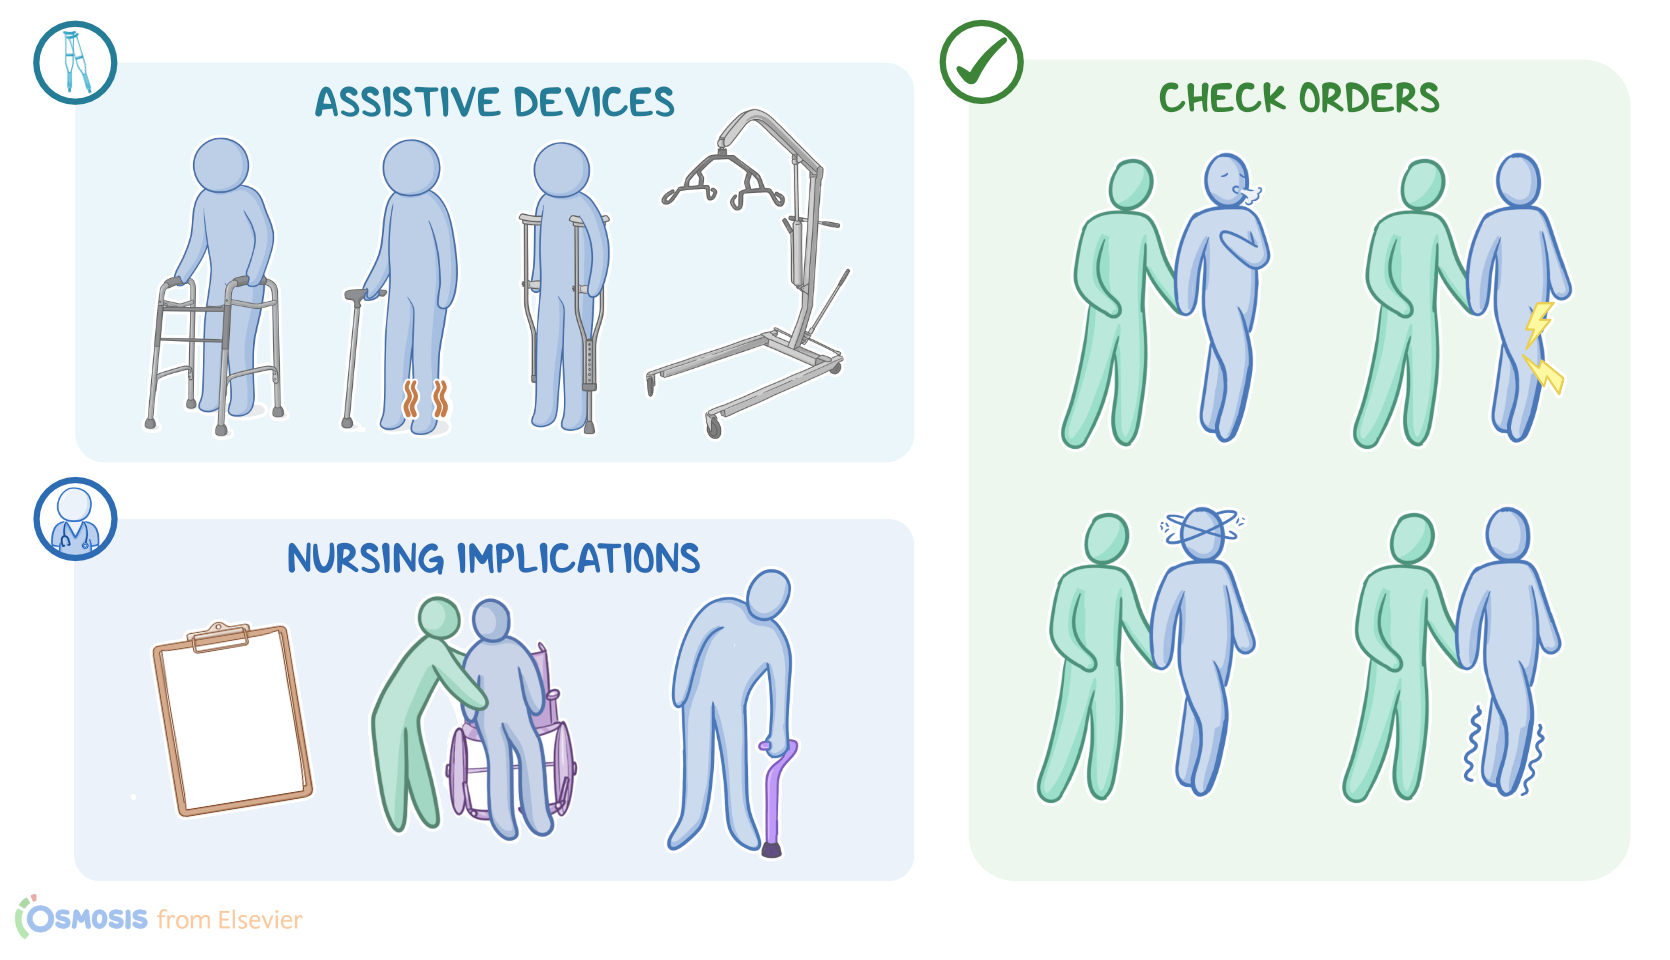
Assistive devices for ambulation, or just ambulation devices, are tools used to aid in walking. The most common types include walkers, canes, and crutches. As the nurse, you need to know when each of these are appropriate and assess if the client is using them correctly. Remember that a client’s ambulation device is specially ordered and fits them specifically, kind of like glasses, so they should not be shared with other clients. Some devices like mechanical lift, are used by clients who aren’t able to ambulate independently and need assistance to move from one location to another. Nurses often use mechanical lifts to make sure the client is safe during transfer. Let’s start by looking at walkers. These are movable, lightweight devices that consist of a metal frame, 2 hand grips, and 4 legs. Walkers provide great stability due to their wide base, so they are great for people who can bear weight on their feet but have trouble walking due to weakness of the legs or balance issues. When assessing the proper fit of a client’s walker, make sure that the hand grips are at the client’s waist level. Check the legs because they should have non-slip tips like a rubber cover.
To use a walker, the client should stand straight while holding the hand grips. When moving forward, they lift it up and move it another 6-10 inches in front of them and set it down. Because many clients have difficulty lifting a walker, many models now have wheels on the front legs. However, these are prone to rolling forward, so brakes are usually built in. So, when the client is going to stand for a while, make sure the brakes are locked. Using the walker as support, they should move one leg forward and then the other. Once balance is reestablished, repeat the process. Next up, we have canes. These are also movable, lightweight devices made of a strong material like wood or metal. Canes consist of a handle, a shaft, and legs. There are single leg, triple leg or quad leg canes, and the ones with multiple legs provide more stability but are also more cumbersome. Canes are used by clients who could bear weight but have weakness in one of their legs, like a client who had a stroke or those with paralysis in one leg.
Crutches and walkers are better for people with two weak legs. A properly fitted cane should have the handle at the client’s hip level. The tips should also be non-slip. When using a cane, hold it on the strong side, or the side without weakness. The cane tip should rest flat on the ground at the start and then lifted and moved forward 6-10 inches before being placed flatly on the ground again. Step forward with the weaker leg first, using the cane for support. After balance is established, move the stronger leg forward. The most vulnerable point is when only the weak leg and the cane are on the ground. Crutches are the last kind of common ambulation device. They are either single or paired and are used by people who cannot bear weight on one or both legs. There are two common types of crutches: underarm, or axillary, and forearm crutches. Axillary crutches stretch from the armpits, or axilla, to the ground. They provide better balance but require more upper body strength to use. They are often used temporarily, like when someone is recovering from leg injuries.
Forearm crutches are shorter, reaching from the elbow level to the ground. They have a hand grip and a cuff for the arm. The cuff lets the crutch stay attached to the arm when the person needs to use their hands for other tasks. This is one of the reasons that this type is preferred for people with permanent leg weakness. For proper fit, axillary crutches should leave 2-3 finger widths between the top of the crutch and the arm pit. This prevents compressing the nerves found in the axilla. The person should be able to reach the handle with their elbows slightly flexed. Forearm crutches are often adjustable. With the arms relaxed and slightly flexed, the hand grip should be at the level of the hand, and the cuff should be at the level of the elbow. Check the bolts on the crutches to make sure they’re tight, that the non-slip tip is intact, and that there are no cracks or other deficits. The proper usage of crutches should be taught to the client by a nurse or a physical therapist, but here are some general considerations. Crutches should be squeezed between the arms and chest. They should be about shoulder-width apart when they reach the ground. There are four different types of gait. In a 4 point gait, the left crutch moves forward, followed by the right leg. Then the right crutch moves forward, followed by the left leg. In a 3 point gait, both crutches move forwards, followed by the strong leg and then the weak leg.
In the 2 point gait, the left foot and right crutch moves forward together, followed by the right foot and left crutch. Finally, for the swing-to gait, both crutches move forward, then using them as support, both legs are lifted and swing to the crutches position. Now, for clients who are unable to bear weight or have poor upper body strength, common ambulatory devices like canes, walkers, or crutches might not be a safe option. For these clients, mechanical lifts can be used for client transfer. There are a few kinds of mechanical lifts like ceiling mounted lifts, hydraulic floor lifts, or power-driven lifts, each of these devices will have slightly different instructions based on the manufacturer's specifications, so make sure you are familiar with the lift you are using before transferring a client. Now, when using a hydraulic floor lift, start by collecting your supplies. Also make sure you have at least one additional nurse or nursing assistant to help with the transfer, and to ensure the client is comfortable, secure, and does not bump into furniture or equipment during transfer.