Physical assessment - Comprehensive: Nursing
Notes
| PHYSICAL ASSESSMENT - COMPREHENSIVE | ||
| KEY POINTS | NOTES | |
| DEFINITION |
| |
| GETTING STARTED & METHODS OF ASSESSMENT |
| |
| APPROACH |
| |
| GENERAL OVERVIEW |
| |
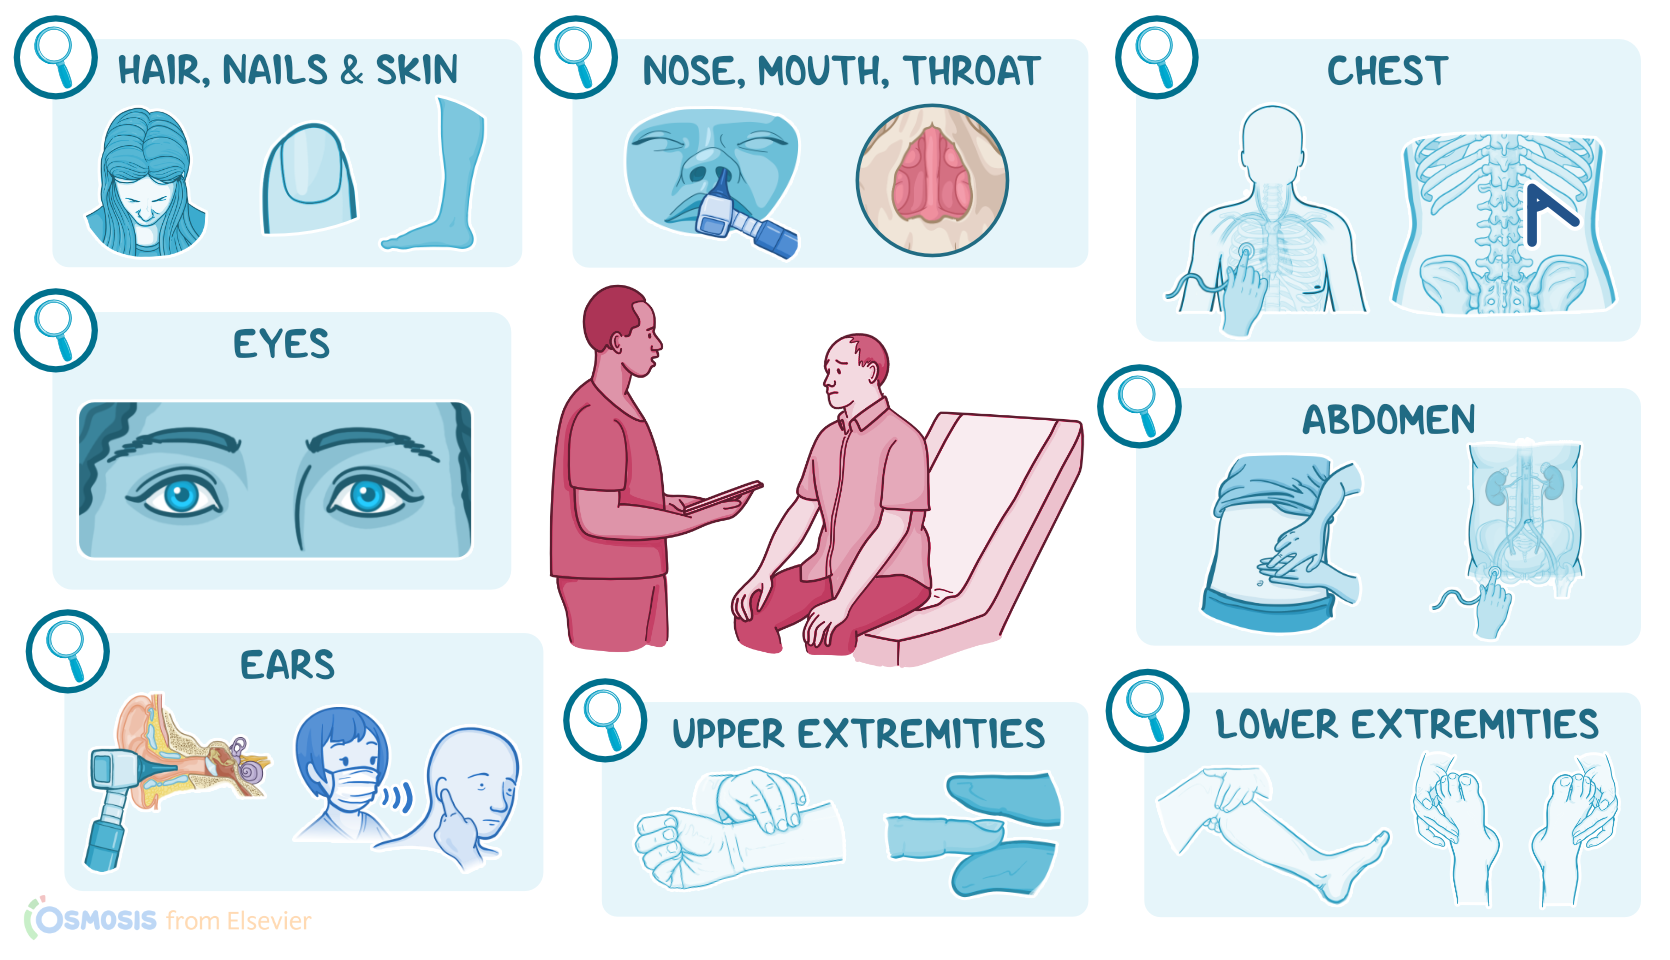
| SKIN HAIR & NAILS |
| |
| HEAD & FACE |
| |
| EYES & EARS |
| |
| NOSE, MOUTH & THROAT |
| |
| UPPER EXTREMITIES |
| |
| CHEST & BACK |
| |
| ABDOMEN |
| |
| LOWER EXTREMITIES |
| |
| NURSING IMPLICATIONS |
| |
Transcript
A comprehensive assessment provides information on the overall status of a client’s health in addition to providing data about each individual body system. This type of assessment is useful when identifying priorities for client care or evaluating how an illness or condition is affecting the whole person. For example, chronic obstructive pulmonary disease, or COPD, commonly affects the lungs, but can also cause changes to the nails, extremities, and chest wall; so a comprehensive assessment will ensure you can avoid missing important assessment data from other body systems. Now, let’s review the process of completing a comprehensive assessment.
Okay, the supplies you’ll need include a stethoscope, penlight, tongue depressor, an otoscope, drapes, and gloves. Then, prepare for the exam by ensuring your client is in a comfortable position, that your hands and stethoscope are warm, and that the temperature in the room is comfortable. Provide privacy by closing the door and curtains, properly draping your client, and only exposing areas of their body as needed to perform your examination. Before getting started, explain the procedure to your client and be sure to answer any questions they might have before obtaining verbal consent. Then, perform hand hygiene and collect your supplies.
Methods of assessment for the comprehensive assessment include inspection, percussion, palpation, and auscultation.
One of the most important things to remember when performing a comprehensive assessment is to use an organized approach so you don’t accidentally exclude a body system. One way you can organize your assessment is to perform what’s called a head to toe assessment, starting with the head and then systematically moving down the body all the way to the toes. Another technique is to prioritize the assessment of a body system that is potentially related to your client’s symptoms, like assessing the cardiovascular system first for a client with valvular disease, before moving on to the next body system.
To begin, perform a general overview of your client. Observe their mobility as they enter the room, inspecting their mobility and gait, which should be smooth and coordinated. If your client is already seated or on a bed, take steps to ensure it is safe for them to ambulate before you request that they walk. While your client is standing, measure their height, weight, and waist circumference. Next, assist your client into the seated position. Assess their general appearance, including nutritional status, any obvious signs of distress, or physical deformities. Observe their level of alertness and orientation to person, place, time, and circumstance. You will also observe the qualities of their speech, including their word selection, fluidity of speech, and their vocal clarity.
Now, you’ll assess your client’s hair, skin, and nails as you complete other parts of the assessment, when various areas of the body are exposed. Be sure to check for lesions, discoloration, and changes in skin and nail texture as you move through your assessment.
Okay, assess your client’s head and face. Inspect and palpate scalp, hair, and cranium, checking for any defects or lesions. Then, inspect their face for expression and symmetry, which represents an intact cranial nerve VII. You can also test cranial nerves V and VII by asking them to clench their teeth, squeeze their eyes tightly shut, and puff out their cheeks. Now, using the pads of your index and middle finger, palpate the temporomandibular joint as your client opens and closes their mouth. Lastly, palpate the maxillary sinuses and the frontal sinuses by applying firm pressure over each sinus region.
Next, move on to assess the eyes. Inspect the external eye structures and the conjunctiva, sclerae, corneas, and iris. Assess their near vision to test the function of cranial nerve II, and assess the extraocular muscles of the eyes using the six cardinal positions of gaze,
which will test cranial nerves III, IV, and VI. Lastly, use a penlight to test for PERRLA, meaning the pupils are equal, round, reactive to light, and have accommodation, which also tests cranial nerve III.
To assess the ears, start by inspecting the external ears for position and alignment. Then, gently tug the auricle and push the tragus to check for tenderness. Using an otoscope, inspect the canal, and the tympanic membrane for color, position, bulging, and integrity. Finally, you will test hearing using the whispered voice test, which will check the function of cranial nerve VIII.
Moving on to the nose, mouth, and throat, inspect the external nose for symmetry and lesions. Then, you can assess the patency of each nostril by occluding one side of the nose and asking the client to sniff.
While testing nasal patency, you can also test the function of cranial nerve I by asking the client to close their eyes and identify a common odor. Next, using the speculum of the otoscope, inspect the external and then the internal nares including the nasal mucosa, nasal septum, and inferior nasal turbinates.
Now, ask your client to open their mouth and use your penlight to illuminate the mouth so you can inspect the buccal mucosa, teeth, gums, tongue, salivary ducts, palate, and uvula.